
It has been so long since I attempted to Konad because, my nails were not worthy of polish or paint due to how brittle it was and how easily it broke. I have been taking Biotin supplements alongside my usual vitamins and I must say my nails are looking much better and stronger now. Another problem I have is dry and scaly cuticles. My cuticles grow very quickly and become rough and hard causing me to pull and peel at them - bad right? I'd like to think that I have kept to my resolution this year which is to take better care of my nails and cuticles. So I present to you my latest Konad adventure.
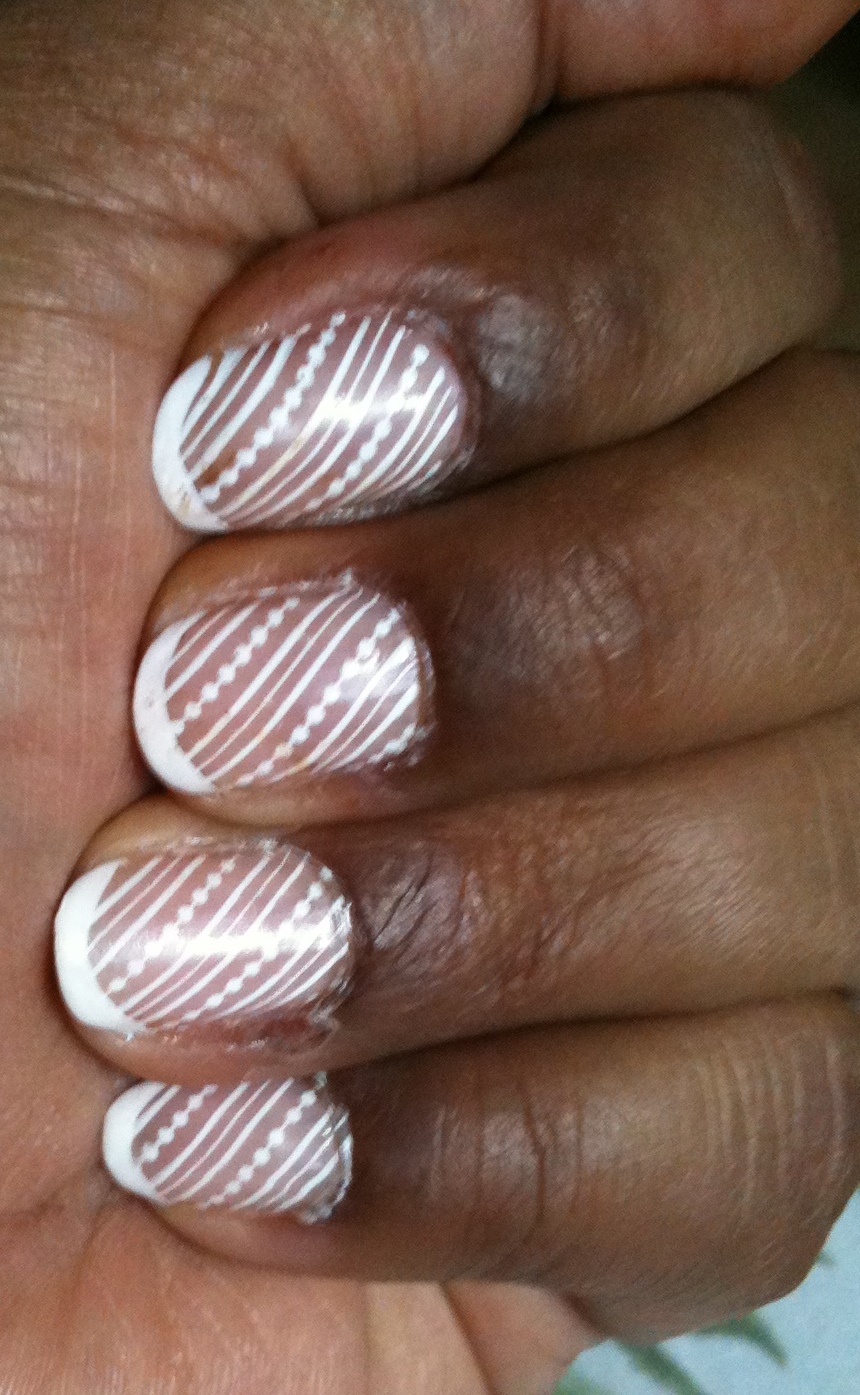
For the design you see above, I primed my nails by giving them a clear coat of Sally Hansen's Hard as Nails and then used one coat of light pink natural tone from a Sally Hansen French Manicure set.


For the white tips, I free handed the French design on my nail tips with the white polish you see above and set everything again with Hard as Nails. I stamped the nail design first and then did the french tips for a neater look. I was quite pleased at how my french tips turned out seeing that I could not for the life of me pick up the french tip design on my Konad plate. It came off in bits. I also did not have any nail tip stickers with me for the french tip so a freehand was what I settled on and it turned out ok.

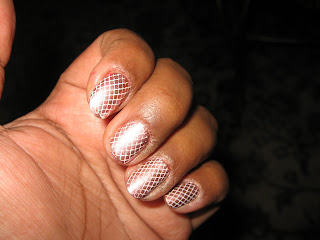
This look lasted one whole week with light washing involved so it is really worth the time and effort you take to use a top coat and Sally Hansen's Hard as Nails, really deliver. Make sure you also coat the edges of your nails and the underside with the product to ensure that everything is well protected!


+of+IMG_4180.JPG)
+close+up.jpg)


